

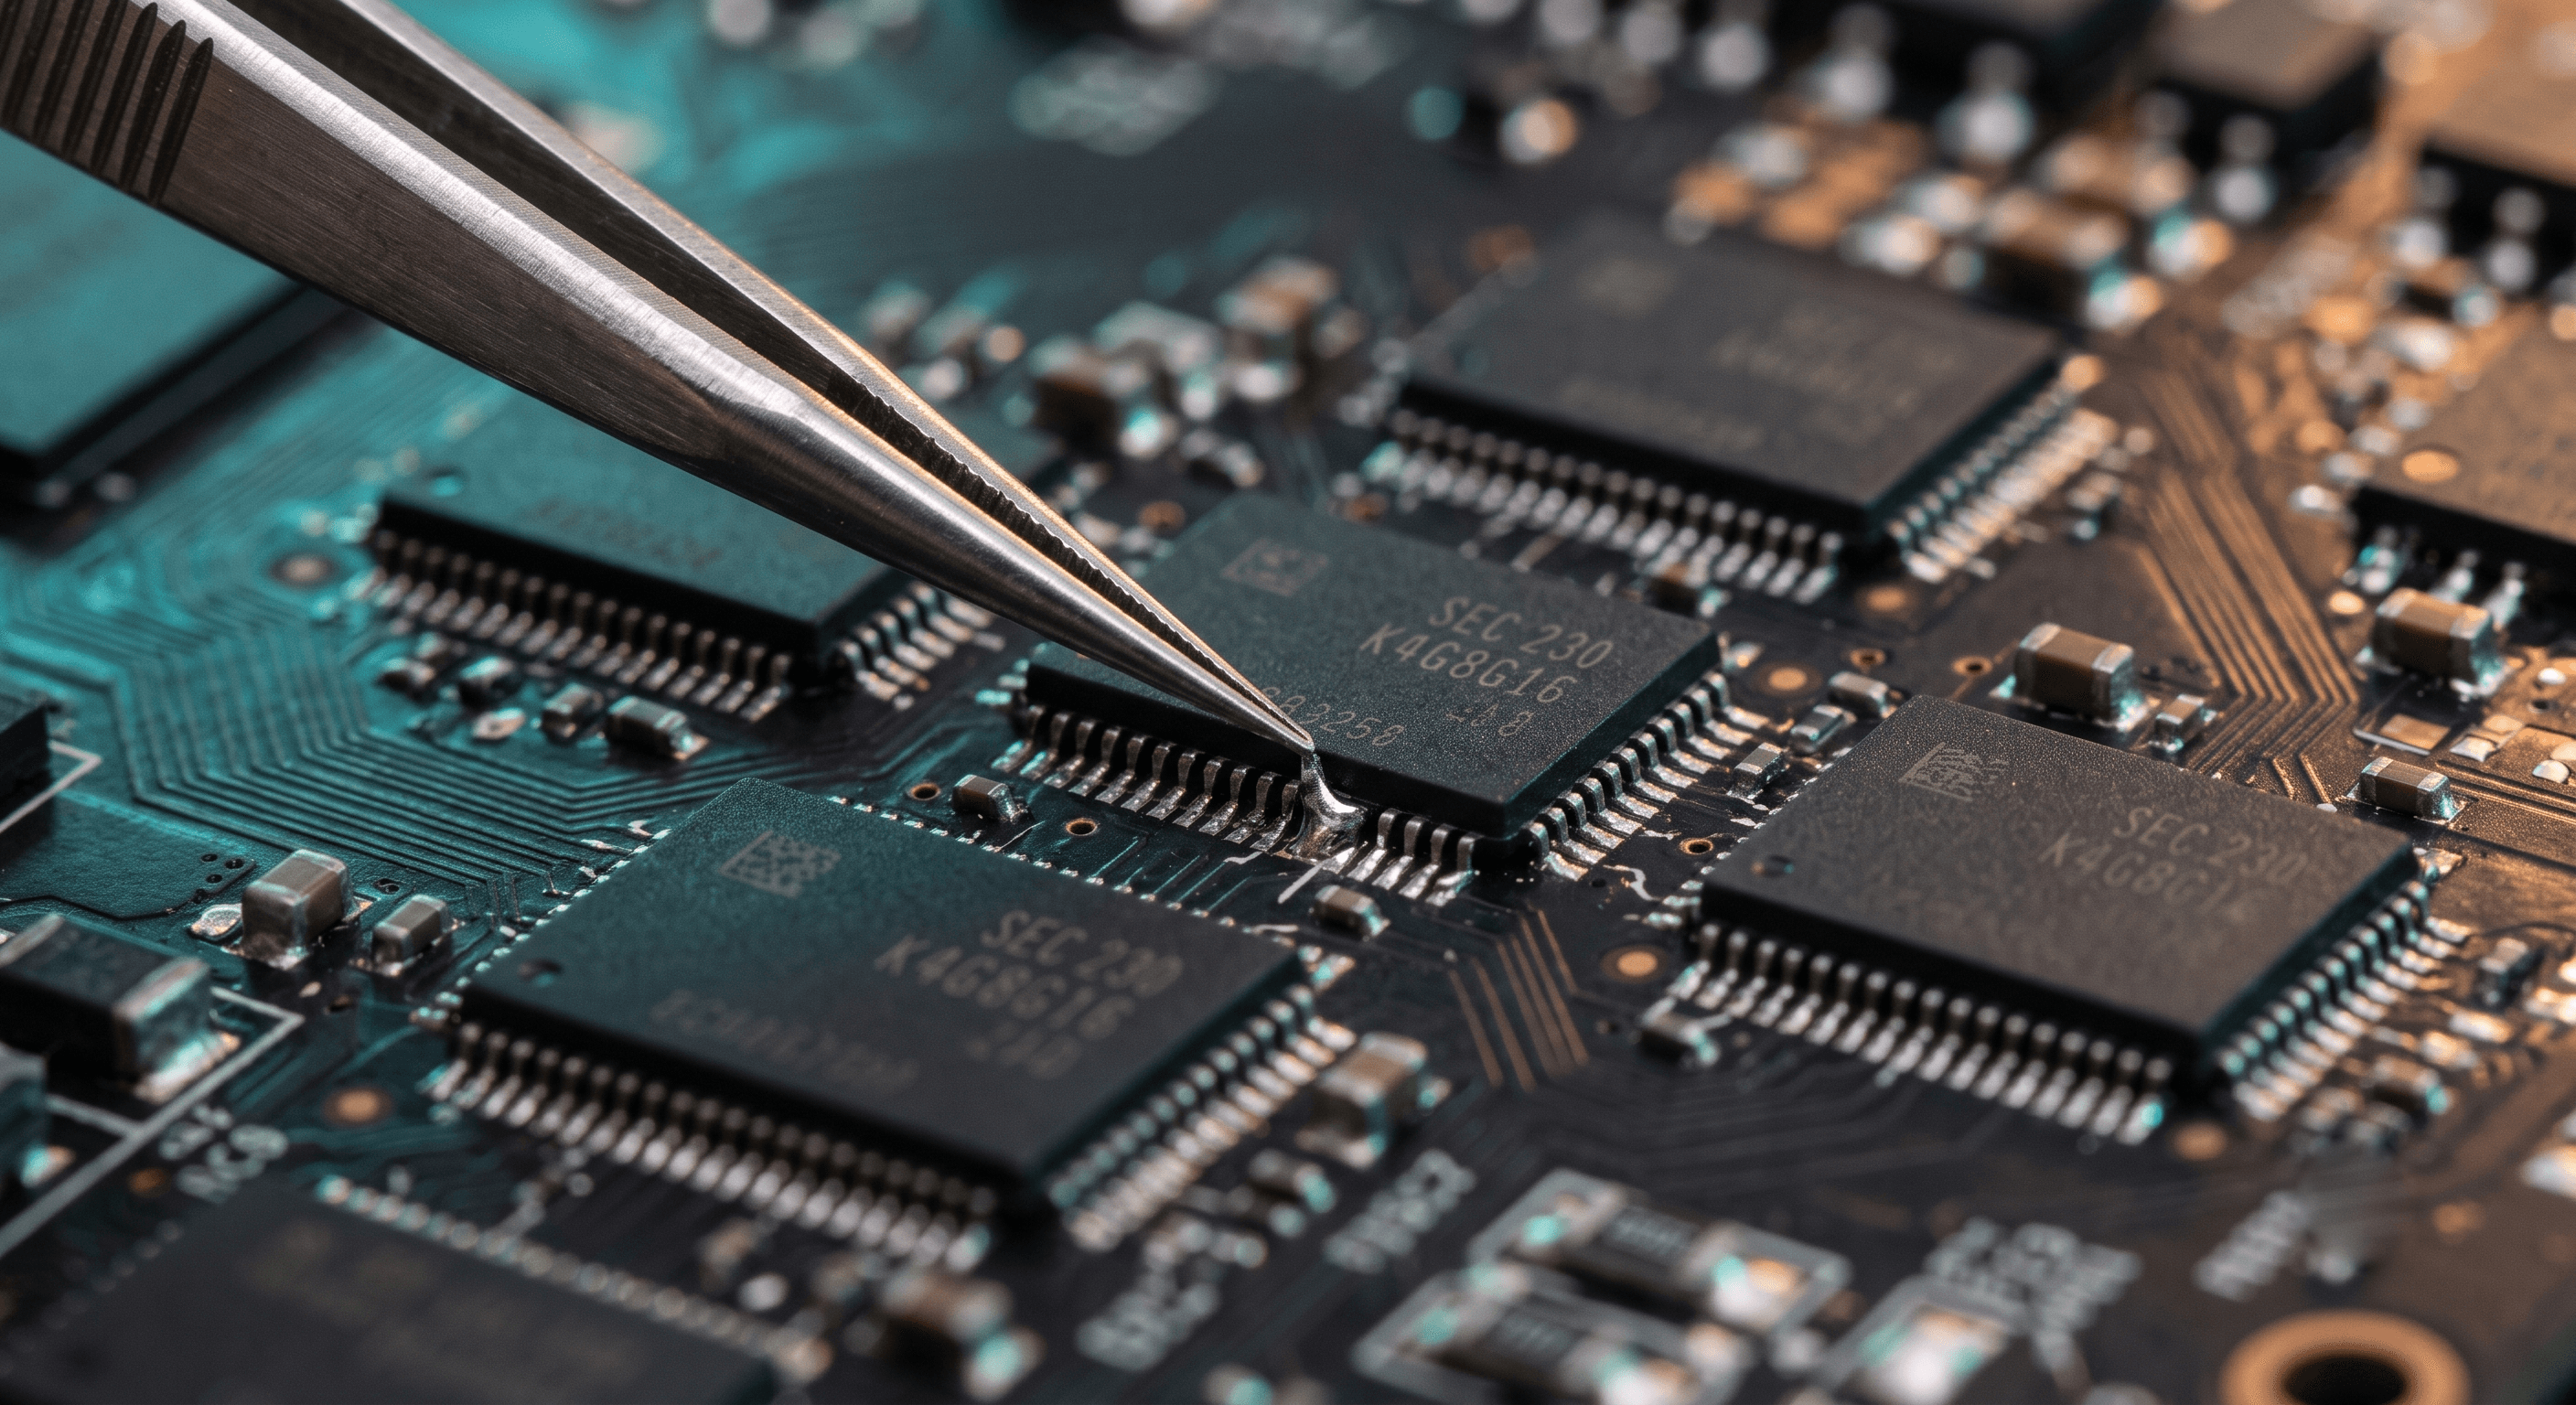
Modern laptops often feature RAM chips soldered directly to the motherboard, making it extremely difficult to upgrade or replace memory modules. If the onboard RAM fails, the laptop may fail to boot, emit memory error beeps, or encounter frequent Blue Screen of Death (BSOD) crashes. One effective solution used by hardware technicians is to disable the faulty onboard RAM at the BIOS level using the BIOS SPD Removal Tool.
By rendering the onboard memory channel invisible to the BIOS, you can bypass the faulty soldered chips and force the motherboard to read only the expansion RAM slot.
What is SPD (Serial Presence Detect)?
SPD stands for Serial Presence Detect. It is a small EEPROM chip on a memory module that stores crucial configuration data about the RAM, including its size, speed, voltage, and timing profiles. During the system boot process, the BIOS reads the SPD data to configure the memory controller. If the onboard memory's SPD data is corrupted or if the chips fail, the BIOS will fail to initialize the system.
What is the BIOS SPD Removal Tool?
The BIOS SPD Removal Tool is a specialized software utility used by motherboard repair technicians to edit the laptop's BIOS dump file. It disables the SPD configuration for the onboard RAM channel, effectively turning off the soldered memory and allowing the laptop to run solely on the removable SO-DIMM expansion slot:
- Disables faulty soldered onboard RAM.
- Bypasses boot failures and memory beep codes.
- Saves the motherboard from needing expensive chip-level desoldering.
Required Tools for the Repair Process
To perform this BIOS-level modification, you will need the following hardware and software tools:
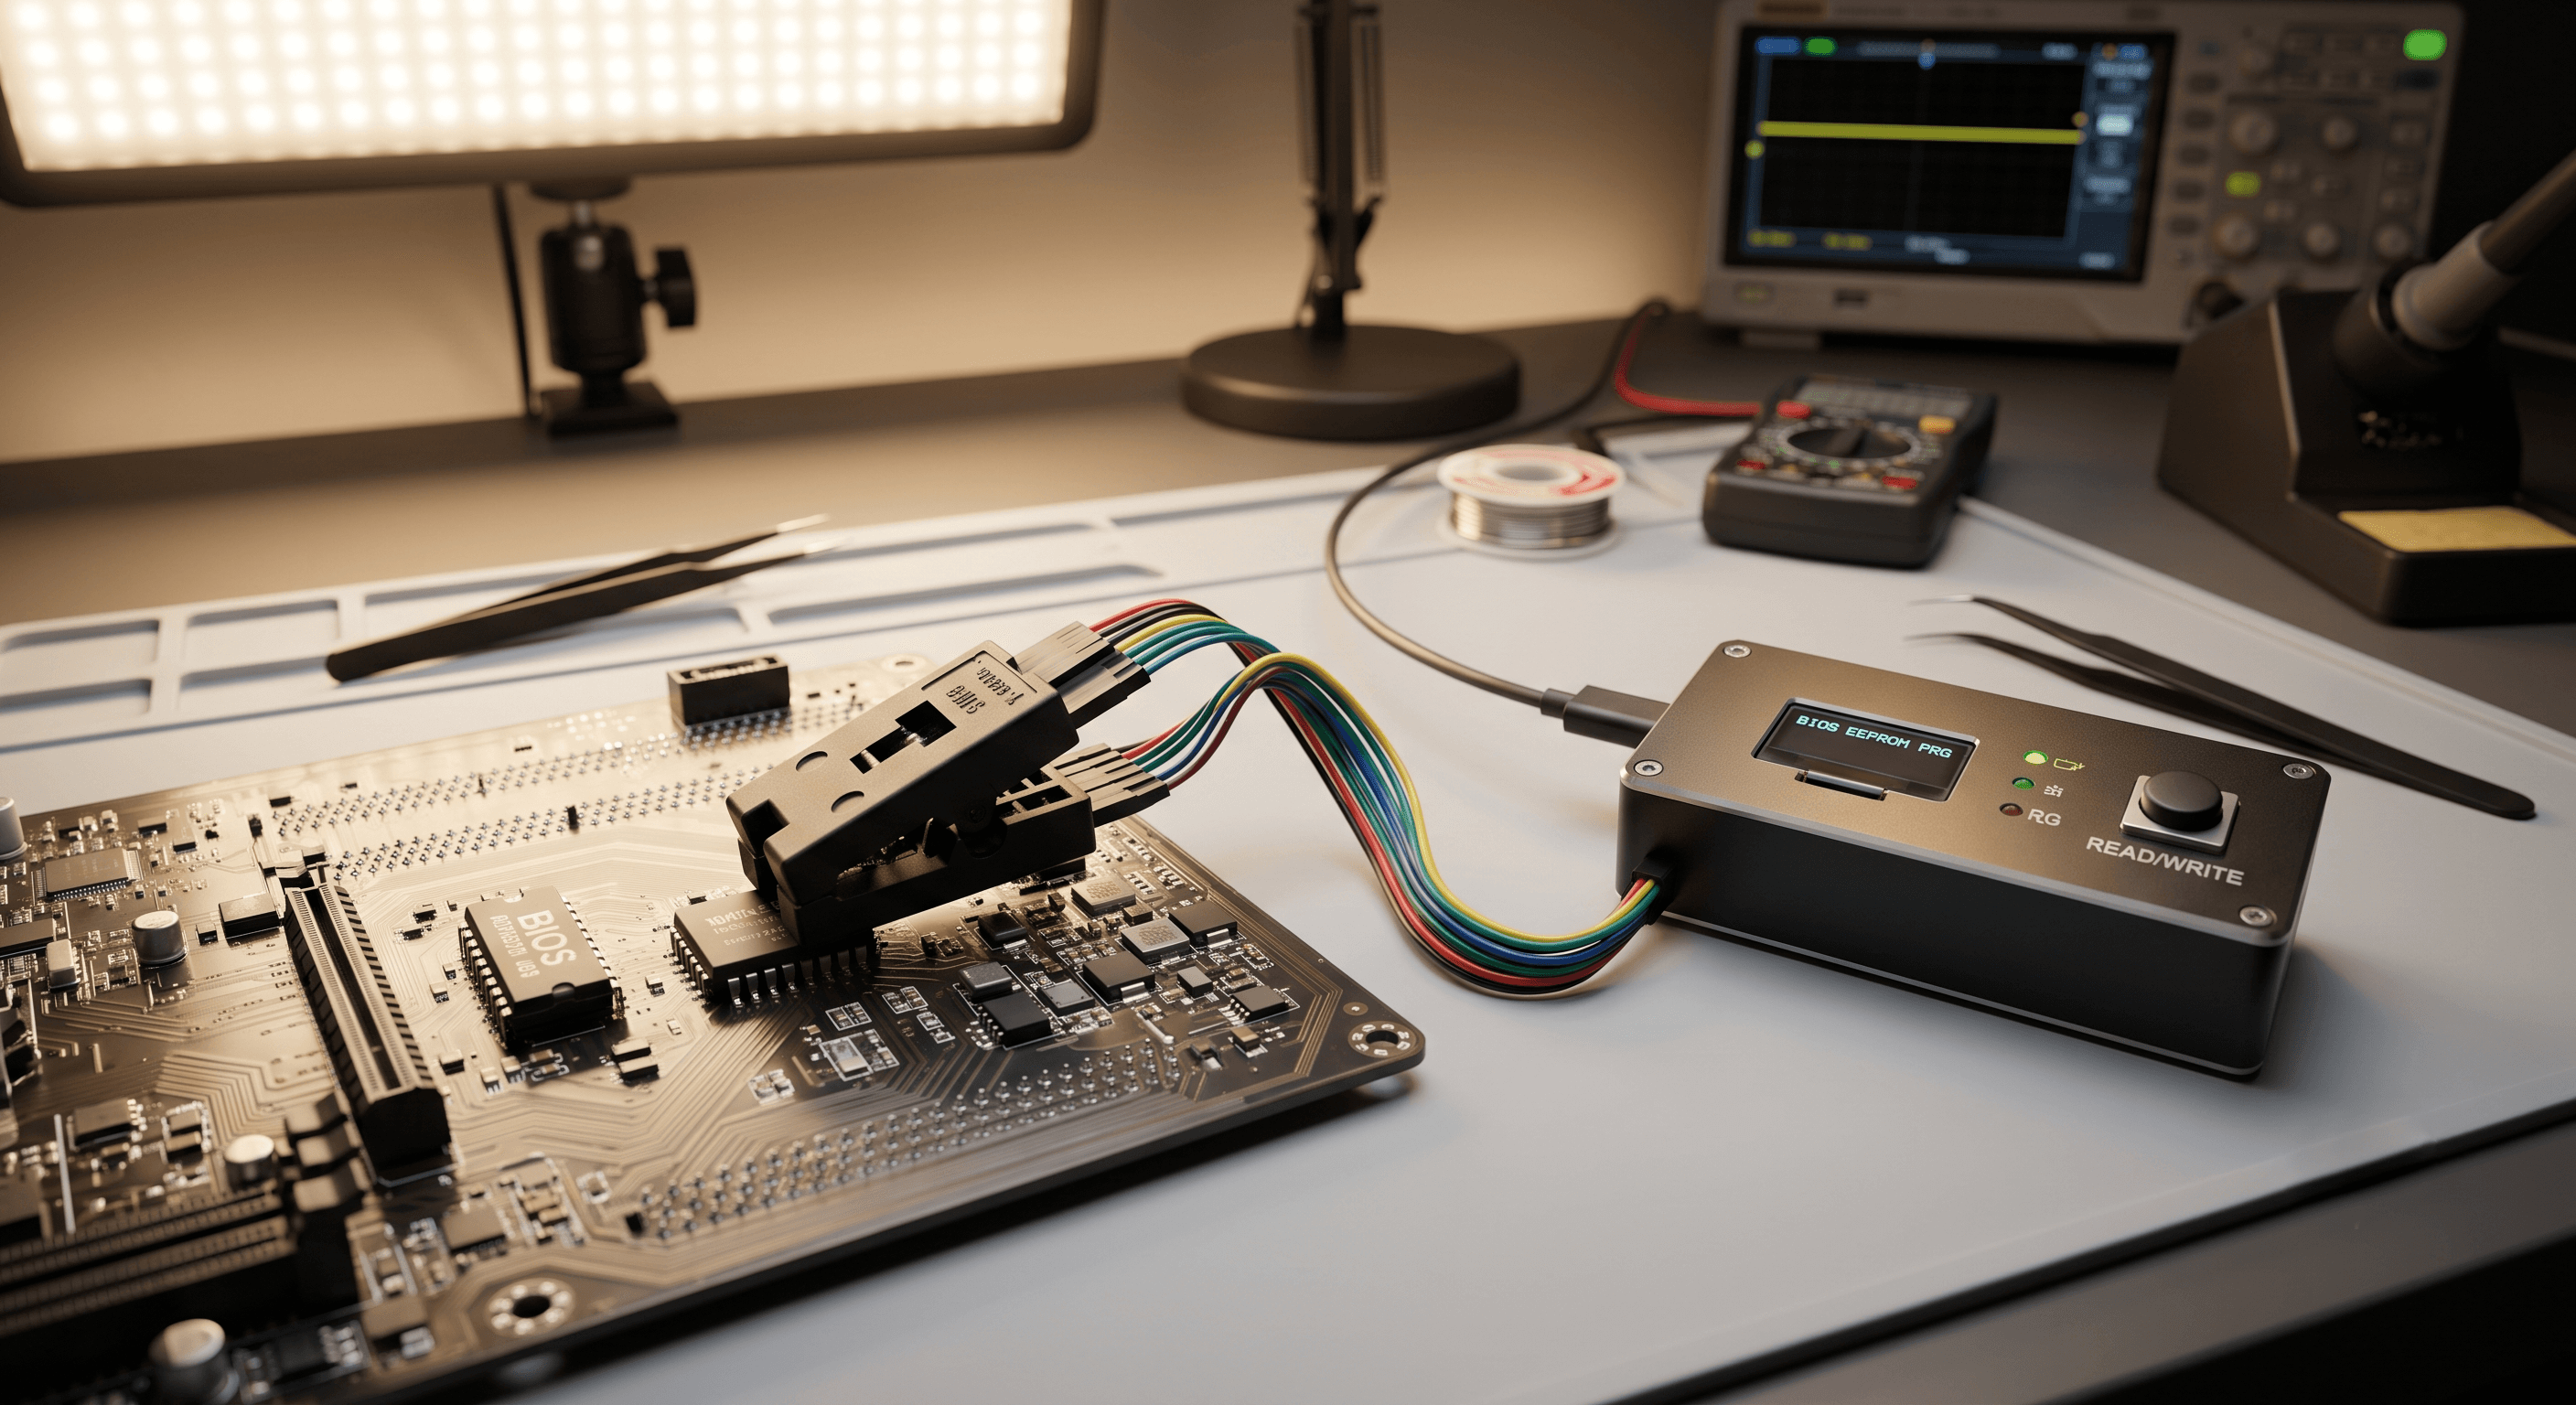
- An EEPROM / BIOS Programmer (e.g., RT809F, RT809H, or CH341A)
- A SOIC8 test clip or hot air station to desolder the BIOS chip
- A computer to run the programming and editing software
- The BIOS SPD Removal Tool utility
- A verified original BIOS dump file from the laptop
Step-by-Step Motherboard Modification
Step 1: Read the BIOS Chip
Desolder or clip onto the laptop's BIOS SPI flash chip using your programmer. Read the chip contents and save a backup copy of the original BIOS dump (BIN file) immediately.
Step 2: Edit the BIOS Dump
Open the BIOS SPD Removal Tool and load your saved BIOS dump file. The tool will scan the file and locate the memory configuration tables and SPD channels.
Step 3: Disable Onboard RAM
Select the option to disable the onboard memory channel (usually labeled as Channel A or Soldered RAM). The tool will modify the memory routing tables in the BIOS binary.
Step 4: Save the Modified BIOS File
Save the edited file as a new BIN image (e.g., modified_bios.bin).
Step 5: Flash the Edited BIOS
Erase the BIOS chip using your programmer and write the modified BIOS file onto the chip. Verify the write process.
Step 6: Hardware Desoldering (Optional)
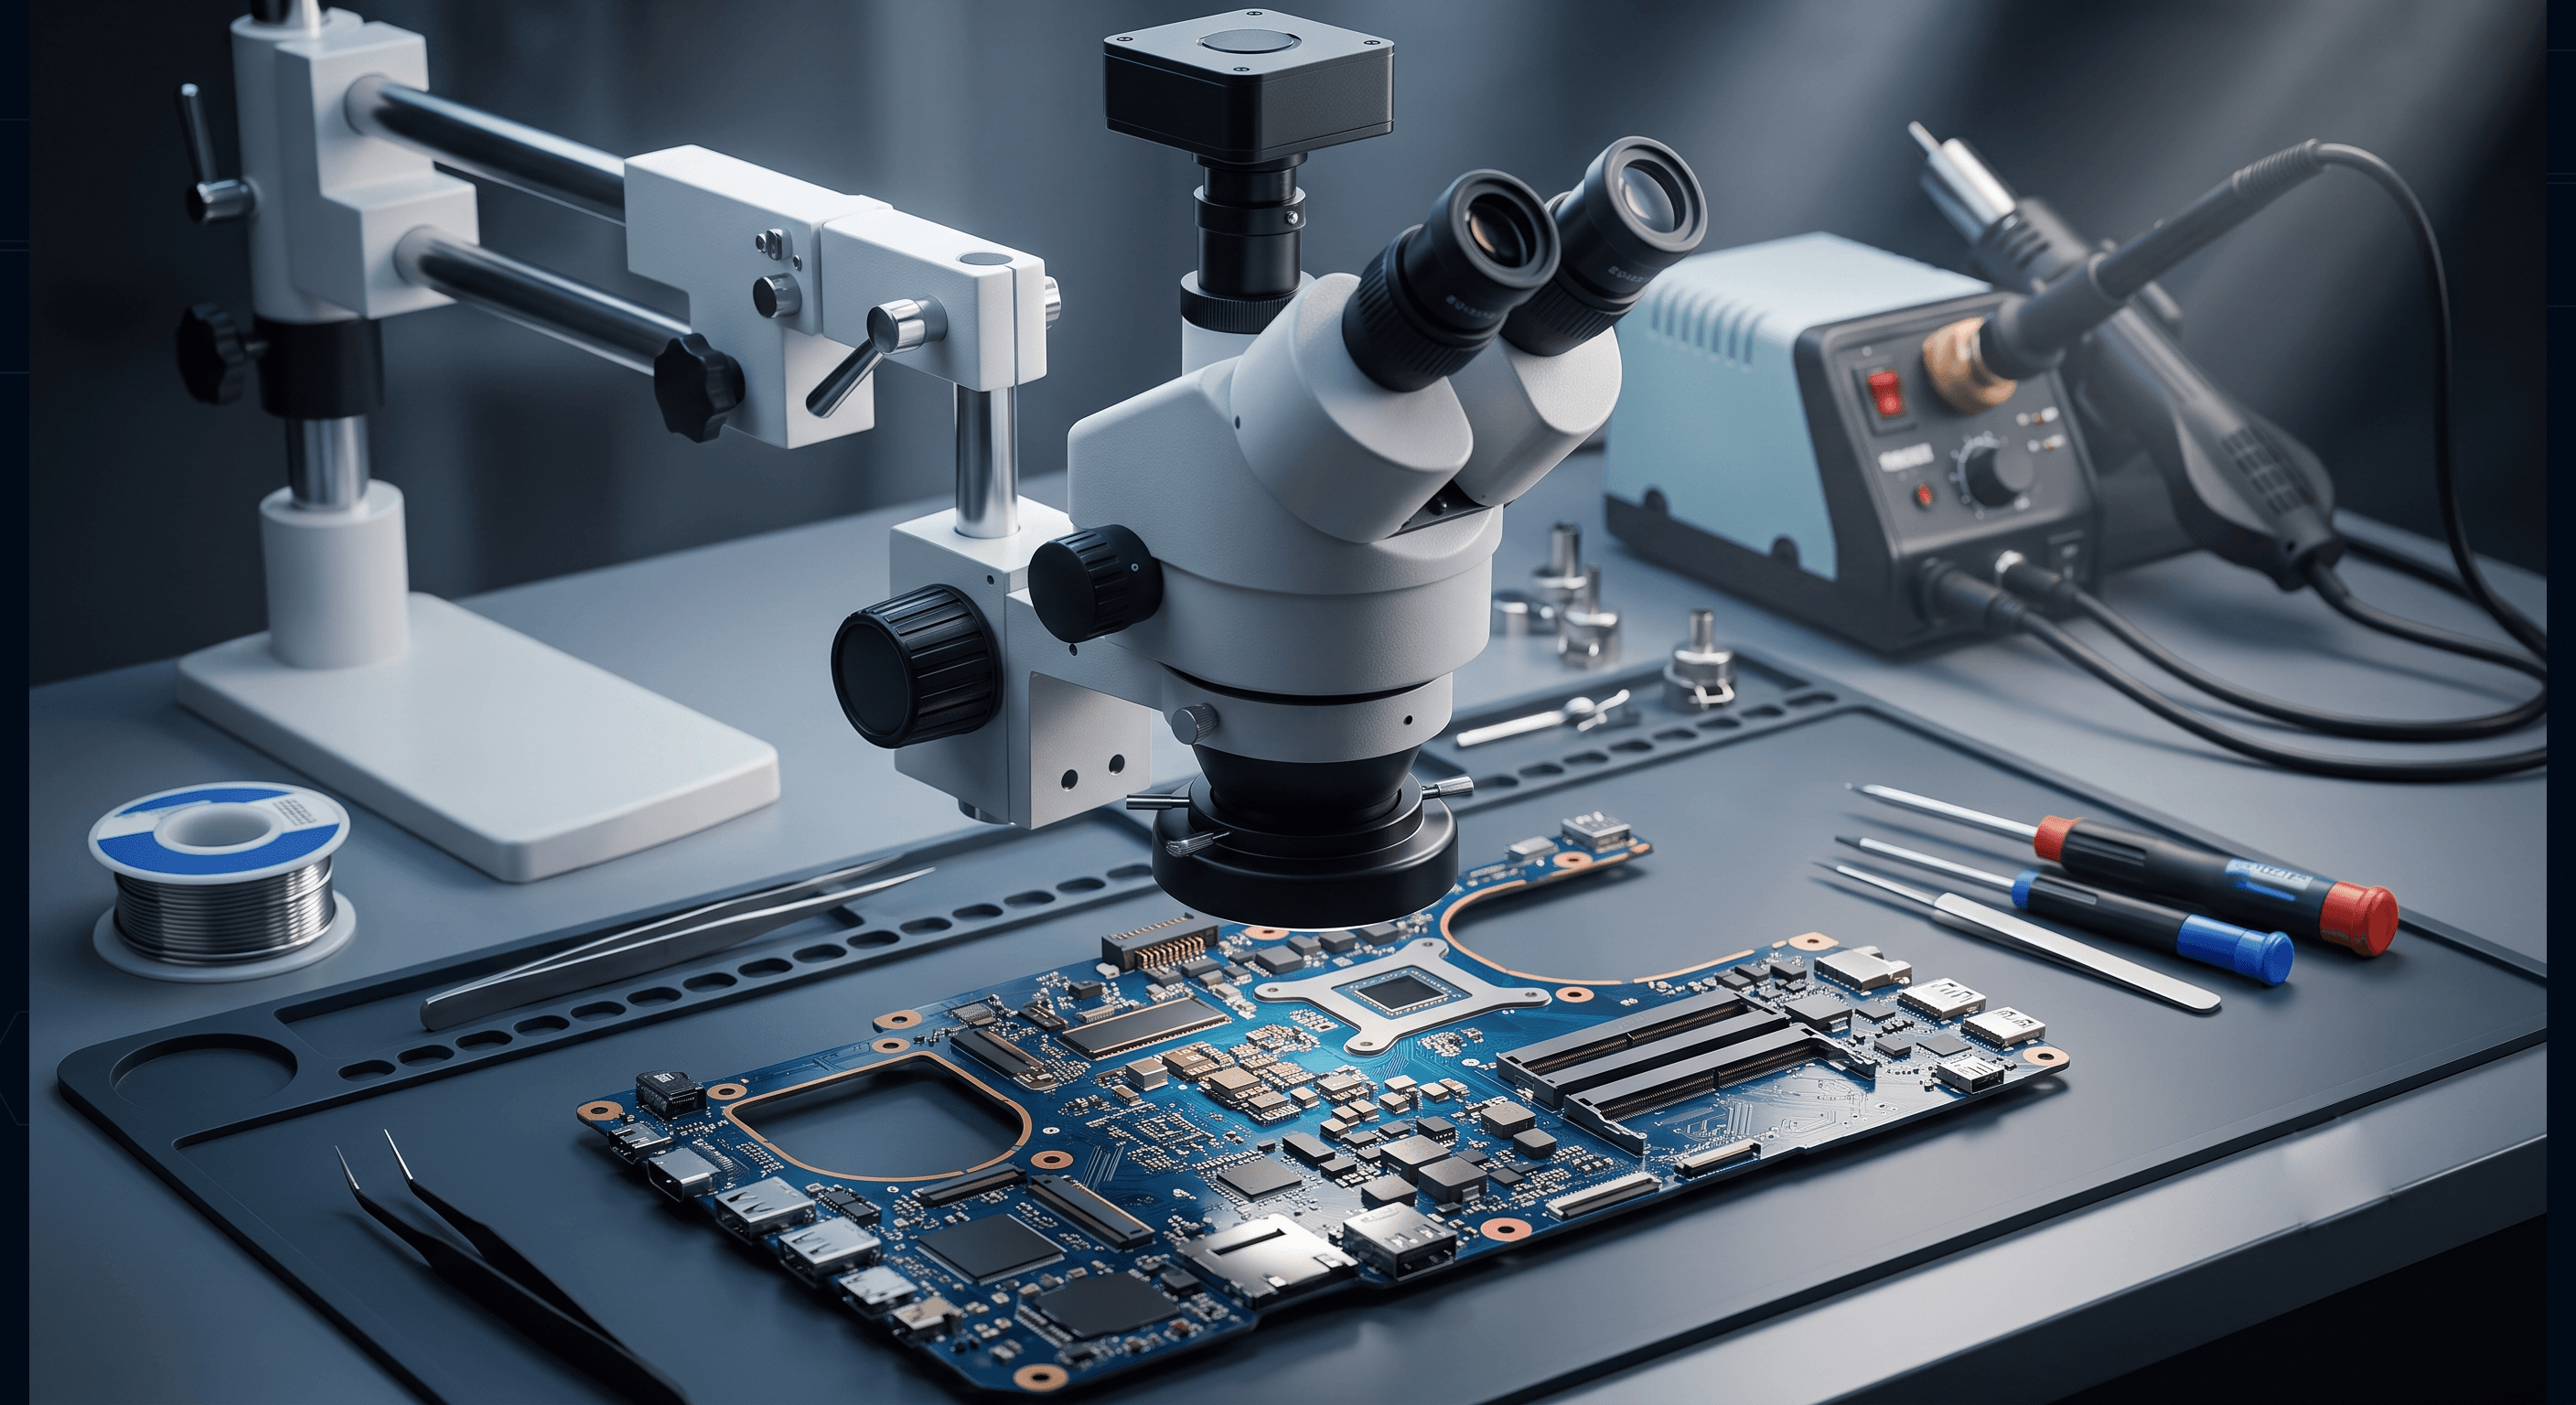
Depending on the laptop motherboard design (e.g., ASUS, Lenovo), you may need to physically isolate the onboard RAM by desoldering specific power resistors (RAM power supply coils) or changing the board configuration resistors (RAM_ID strap settings) to match the BIOS changes.
Step 7: Test the System
Insert a working SO-DIMM RAM stick into the expansion slot, reassemble the laptop, and turn it on. The system should boot cleanly, recognizing only the expansion slot memory.
Conclusion
Disabling failed onboard RAM using the BIOS SPD Removal Tool is a highly effective, cost-efficient repair method for modern laptops. By combining BIOS modification with minor hardware strap adjustments, you can restore a bricked motherboard to full working order using only the expansion slot.